10 Outdoor Decor Ideas That Will Turn Your Backyard into a Paradise (Check Out #8!)
A beautiful home is not created by adding the most objects. It comes from making a few high-impact choices about layout, scale, light, texture, and the way a space supports everyday life. These 10 outdoor decor ideas are designed to deliver visible change without turning one article into an exhausting catalog.
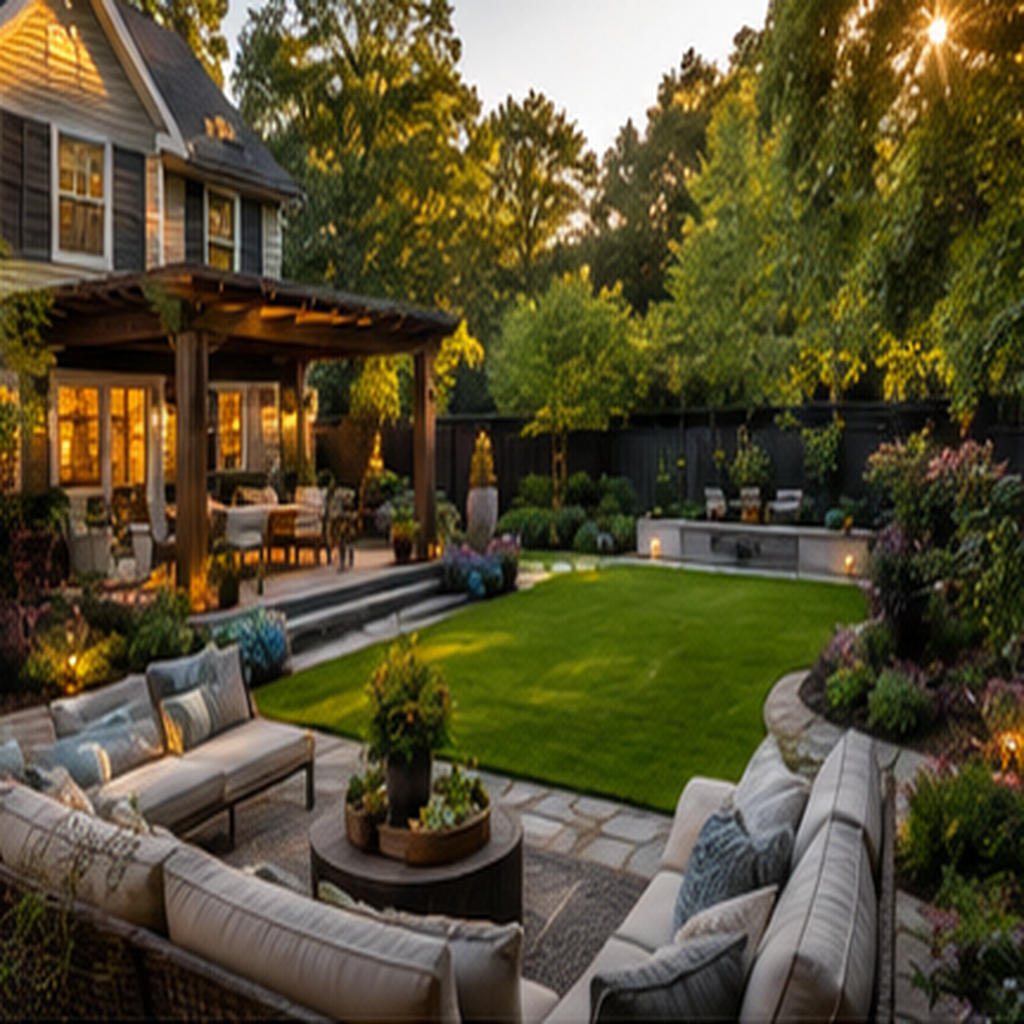
Key Takeaways
- Measure the real space before buying or building.
- Improve layout, lighting, and scale before adding accessories.
- Repeat a limited palette or material to create cohesion.
- Protect circulation, ventilation, mounting safety, and weather exposure.
- Finish one strong focal point and leave breathing space around it.
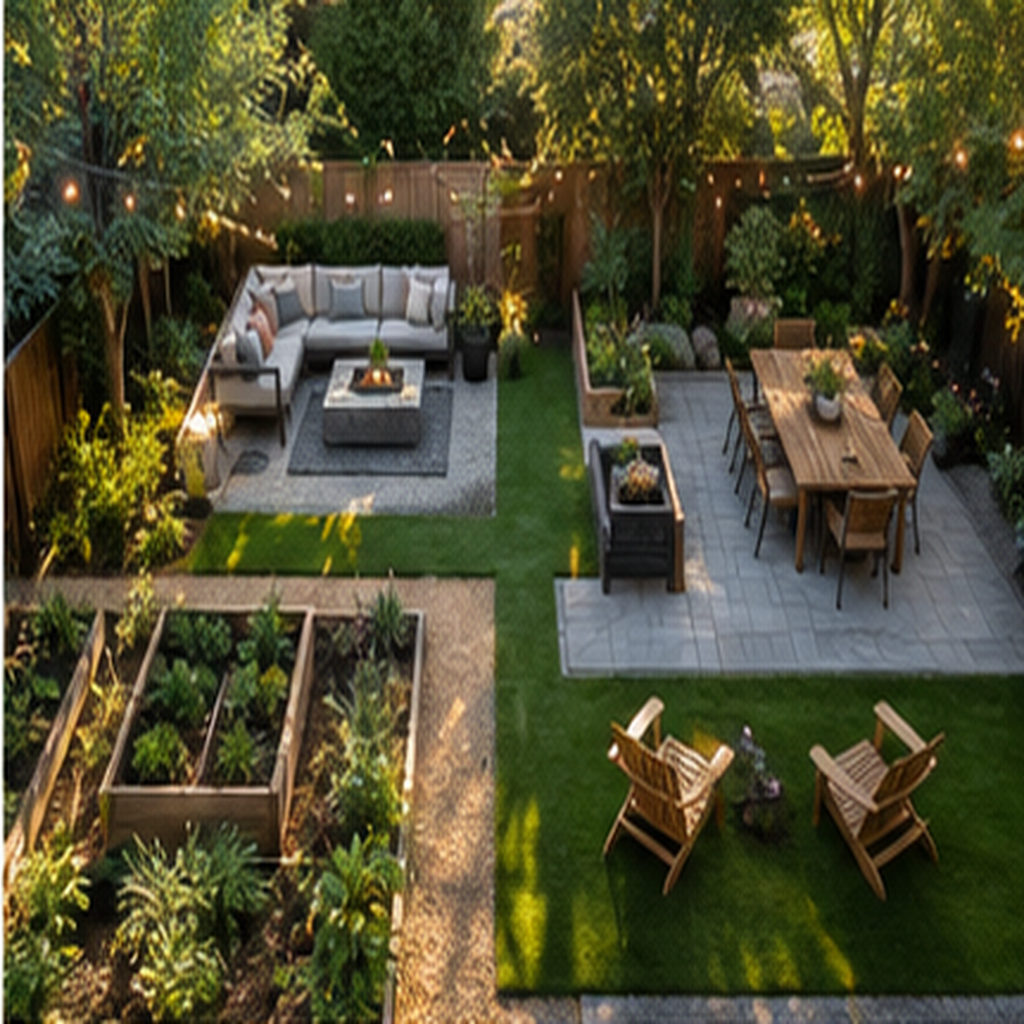
1. Divide the Yard Into Clear Activity Zones
The Design Outcome
A backyard feels larger when dining, lounging, play, gardening, and circulation have clear territories. Outdoor rugs, container groups, and furniture orientation can define them without construction.
How to Execute It
Sketch sun, shade, drainage, doors, utilities, and paths first. Keep emergency access clear and avoid placing furniture where it blocks gates or creates trip hazards.
Materials and Placement
Choose materials for the actual surface, traffic, light, moisture, heat, and cleaning demands. Measure twice, create a temporary mock-up, and confirm how doors, drawers, vents, outlets, seating, and walking paths interact with the idea. Use removable options for rentals and obtain written permission before permanent changes.
Pro Tip and Safety Check
Photograph the room from the doorway before and after the mock-up; the camera makes scale and clutter easier to judge. Secure heavy or elevated objects with hardware rated for the wall or structure. Follow product instructions and local requirements for electricity, flame, exterior structures, coatings, and load-bearing work; use a qualified professional when the project exceeds cosmetic decorating.
Why It Works
The idea succeeds because it changes a large visual relationship—scale, rhythm, depth, light, or circulation—rather than relying on many small purchases. Repeat one feature elsewhere in the room, then stop. Restraint lets the improvement read clearly.
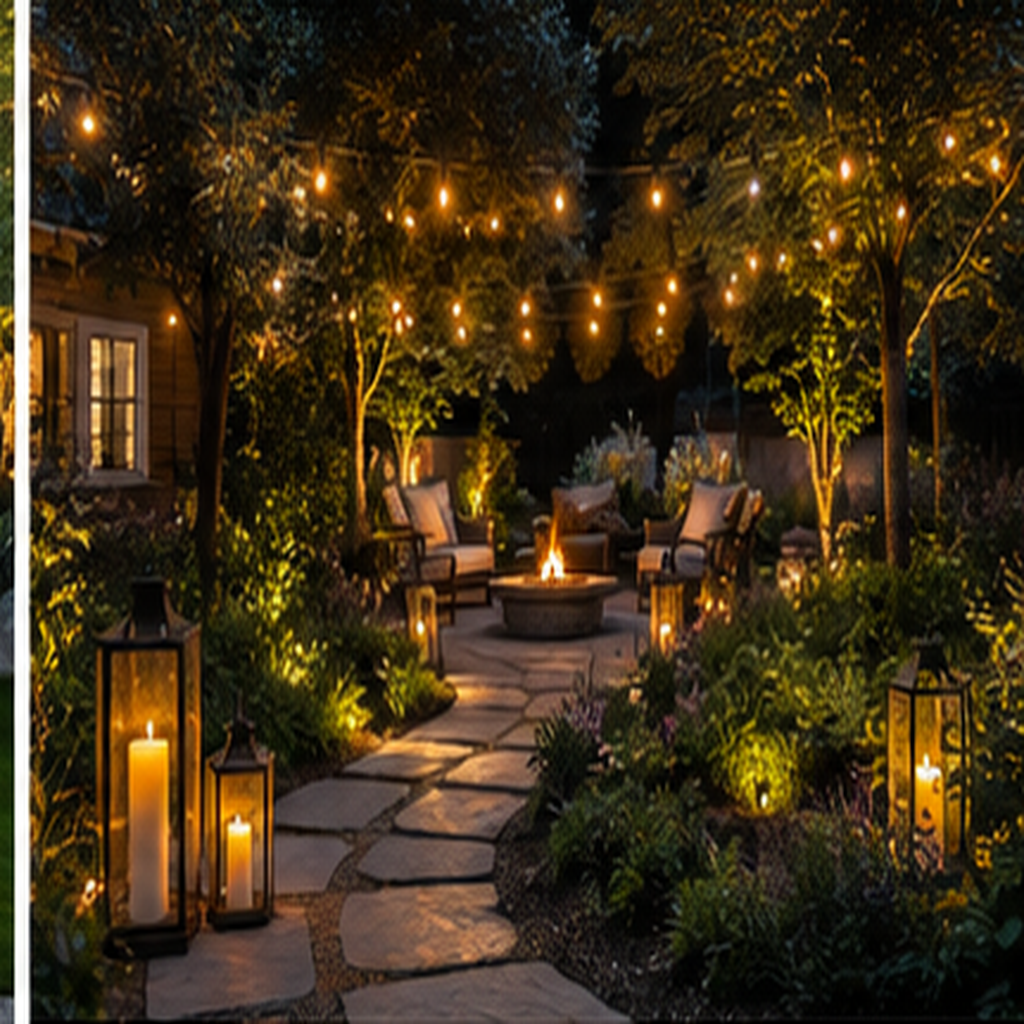
2. Layer Safe Outdoor Lighting
The Design Outcome
Combine overhead glow, table-level light, and low path illumination for depth and safer movement. Darkness should remain where it benefits privacy and wildlife.
How to Execute It
Use outdoor-rated fixtures, GFCI-protected circuits where required, secure cords off walking surfaces, and hire a qualified electrician for permanent wiring.
Materials and Placement
Choose materials for the actual surface, traffic, light, moisture, heat, and cleaning demands. Measure twice, create a temporary mock-up, and confirm how doors, drawers, vents, outlets, seating, and walking paths interact with the idea. Use removable options for rentals and obtain written permission before permanent changes.
Pro Tip and Safety Check
Photograph the room from the doorway before and after the mock-up; the camera makes scale and clutter easier to judge. Secure heavy or elevated objects with hardware rated for the wall or structure. Follow product instructions and local requirements for electricity, flame, exterior structures, coatings, and load-bearing work; use a qualified professional when the project exceeds cosmetic decorating.
Why It Works
The idea succeeds because it changes a large visual relationship—scale, rhythm, depth, light, or circulation—rather than relying on many small purchases. Repeat one feature elsewhere in the room, then stop. Restraint lets the improvement read clearly.
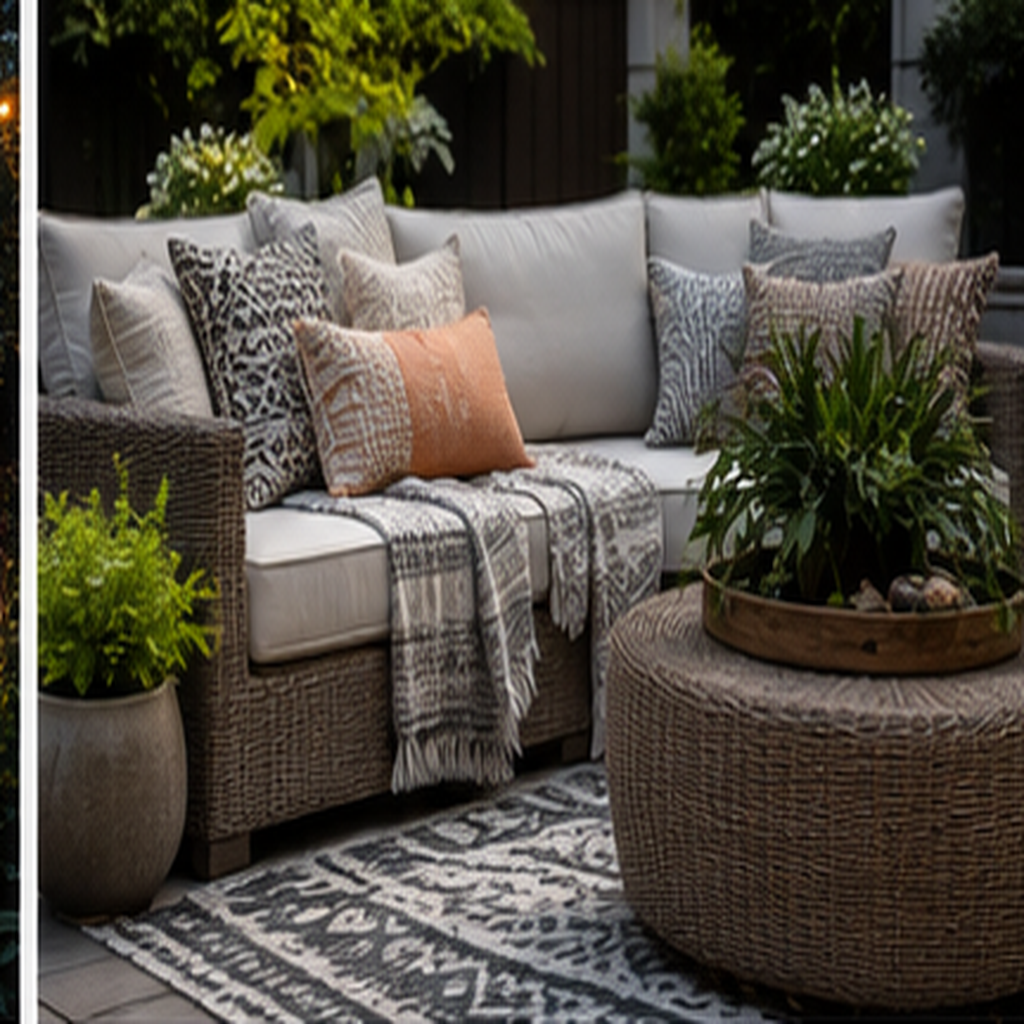
3. Use Weather-Ready Textiles for Instant Color
The Design Outcome
Outdoor cushions, a washable rug, and a few fade-resistant accents create instant color while making hard furniture comfortable.
How to Execute It
Choose materials rated for weather and UV exposure, provide dry storage, and let textiles dry fully before stacking to prevent mildew.
Materials and Placement
Choose materials for the actual surface, traffic, light, moisture, heat, and cleaning demands. Measure twice, create a temporary mock-up, and confirm how doors, drawers, vents, outlets, seating, and walking paths interact with the idea. Use removable options for rentals and obtain written permission before permanent changes.
Pro Tip and Safety Check
Photograph the room from the doorway before and after the mock-up; the camera makes scale and clutter easier to judge. Secure heavy or elevated objects with hardware rated for the wall or structure. Follow product instructions and local requirements for electricity, flame, exterior structures, coatings, and load-bearing work; use a qualified professional when the project exceeds cosmetic decorating.
Why It Works
The idea succeeds because it changes a large visual relationship—scale, rhythm, depth, light, or circulation—rather than relying on many small purchases. Repeat one feature elsewhere in the room, then stop. Restraint lets the improvement read clearly.
4. Group Containers Into a Small Garden Composition
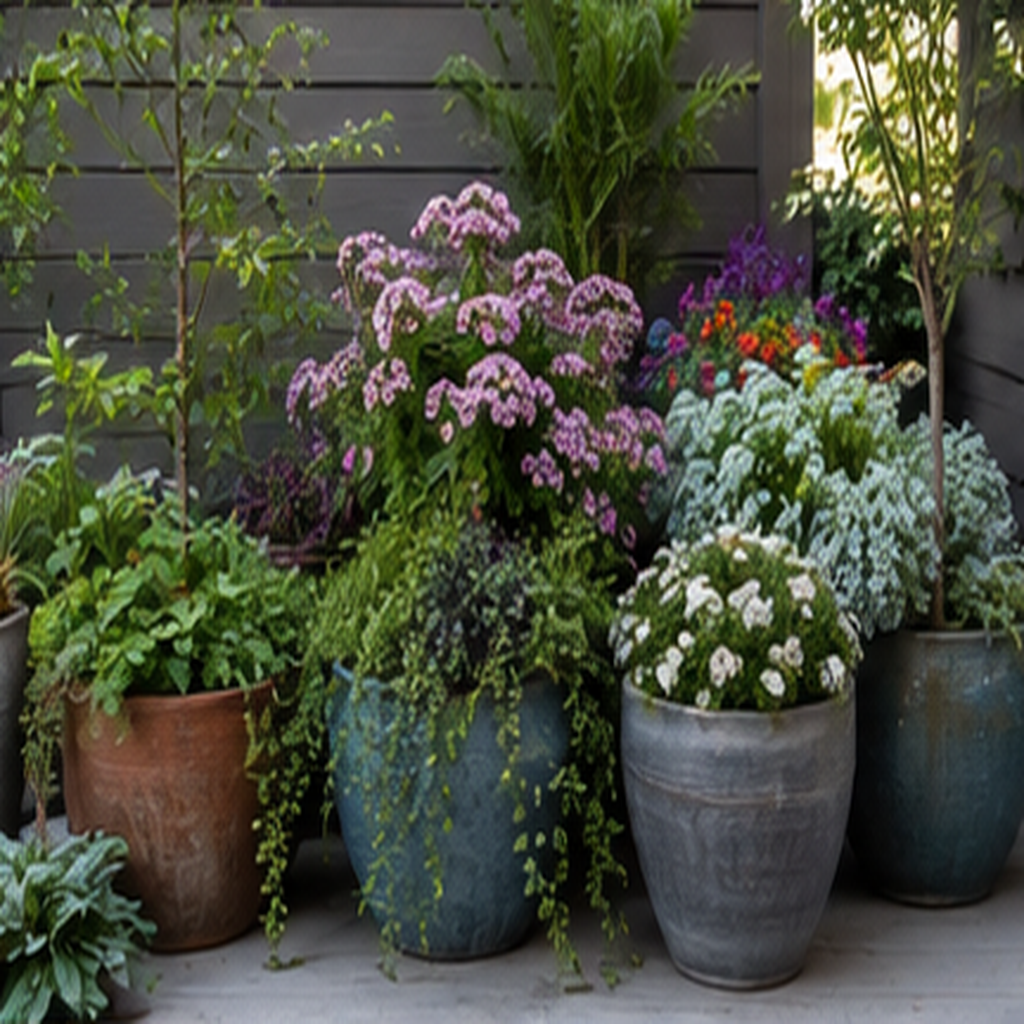
The Design Outcome
Containers look designed when three sizes share a color, material, or plant rhythm. Grouping also concentrates watering and visual impact.
How to Execute It
Confirm mature plant size, drainage, sun, and container weight. Protect deck surfaces, use pot feet where appropriate, and select species safe for the household.
Materials and Placement
Choose materials for the actual surface, traffic, light, moisture, heat, and cleaning demands. Measure twice, create a temporary mock-up, and confirm how doors, drawers, vents, outlets, seating, and walking paths interact with the idea. Use removable options for rentals and obtain written permission before permanent changes.
Pro Tip and Safety Check
Photograph the room from the doorway before and after the mock-up; the camera makes scale and clutter easier to judge. Secure heavy or elevated objects with hardware rated for the wall or structure. Follow product instructions and local requirements for electricity, flame, exterior structures, coatings, and load-bearing work; use a qualified professional when the project exceeds cosmetic decorating.
Why It Works
The idea succeeds because it changes a large visual relationship—scale, rhythm, depth, light, or circulation—rather than relying on many small purchases. Repeat one feature elsewhere in the room, then stop. Restraint lets the improvement read clearly.
5. Create Privacy With an Airy Screen
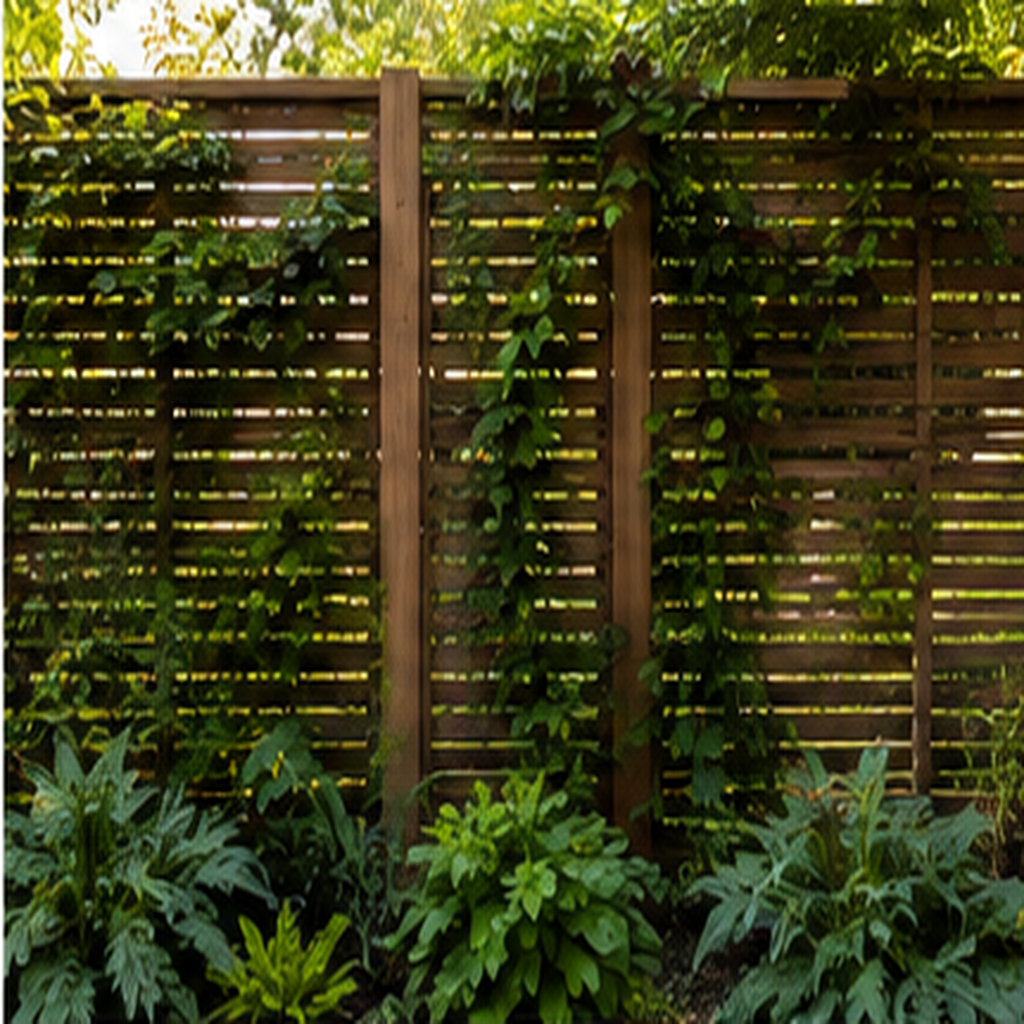
The Design Outcome
Slatted panels, trellises, tall planters, or outdoor curtains can create privacy without building a solid wall. Airy layers feel more garden-like and may face fewer wind loads.
How to Execute It
Check property lines, local rules, underground services, wind exposure, and anchoring. Never attach heavy screens to fences or structures without confirming capacity.
Materials and Placement
Choose materials for the actual surface, traffic, light, moisture, heat, and cleaning demands. Measure twice, create a temporary mock-up, and confirm how doors, drawers, vents, outlets, seating, and walking paths interact with the idea. Use removable options for rentals and obtain written permission before permanent changes.
Pro Tip and Safety Check
Photograph the room from the doorway before and after the mock-up; the camera makes scale and clutter easier to judge. Secure heavy or elevated objects with hardware rated for the wall or structure. Follow product instructions and local requirements for electricity, flame, exterior structures, coatings, and load-bearing work; use a qualified professional when the project exceeds cosmetic decorating.
Why It Works
The idea succeeds because it changes a large visual relationship—scale, rhythm, depth, light, or circulation—rather than relying on many small purchases. Repeat one feature elsewhere in the room, then stop. Restraint lets the improvement read clearly.
6. Make the Dining Area a Real Destination
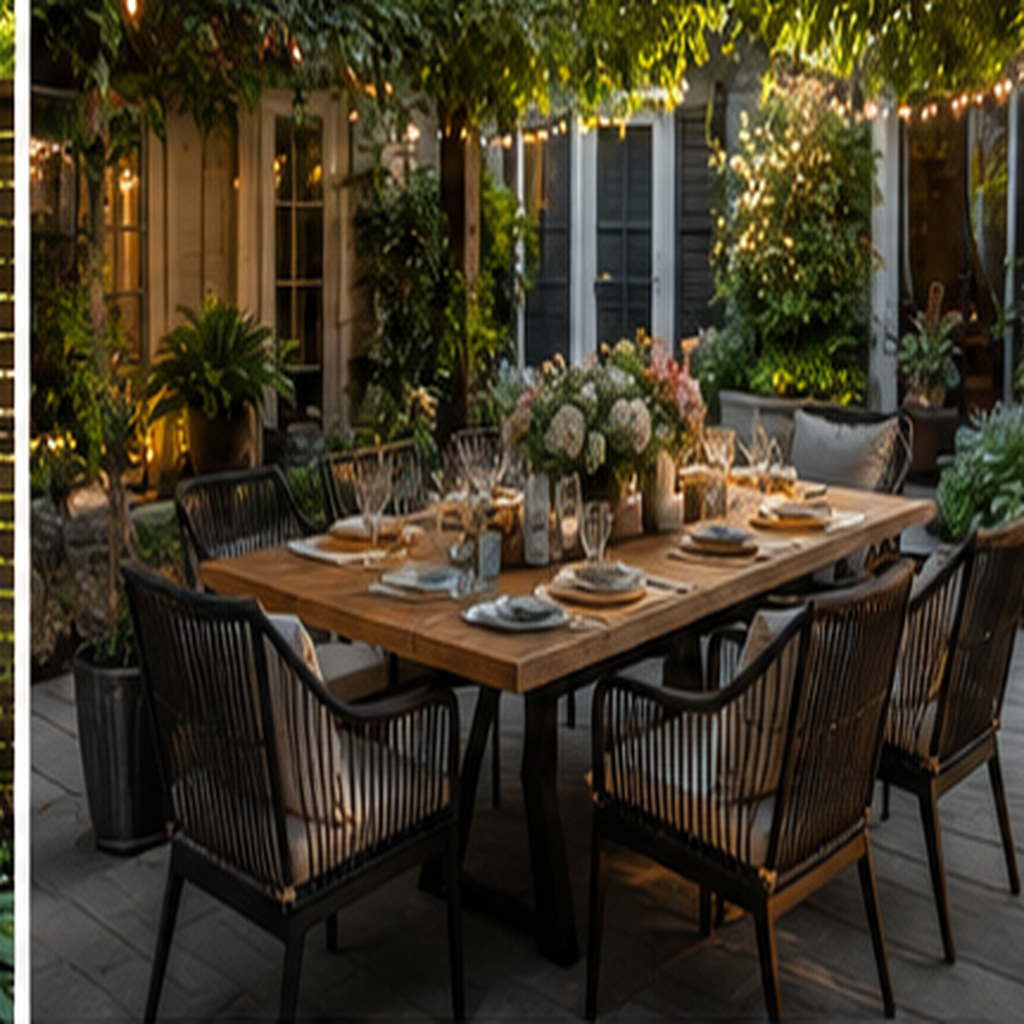
The Design Outcome
A real outdoor dining destination needs shade strategy, comfortable spacing, task light, and a nearby place for serving—not merely a table set.
How to Execute It
Allow chairs to pull back safely, keep grills and heat sources at required clearances, and plan a weather backup. Store food and textiles properly after use.
Materials and Placement
Choose materials for the actual surface, traffic, light, moisture, heat, and cleaning demands. Measure twice, create a temporary mock-up, and confirm how doors, drawers, vents, outlets, seating, and walking paths interact with the idea. Use removable options for rentals and obtain written permission before permanent changes.
Pro Tip and Safety Check
Photograph the room from the doorway before and after the mock-up; the camera makes scale and clutter easier to judge. Secure heavy or elevated objects with hardware rated for the wall or structure. Follow product instructions and local requirements for electricity, flame, exterior structures, coatings, and load-bearing work; use a qualified professional when the project exceeds cosmetic decorating.
Why It Works
The idea succeeds because it changes a large visual relationship—scale, rhythm, depth, light, or circulation—rather than relying on many small purchases. Repeat one feature elsewhere in the room, then stop. Restraint lets the improvement read clearly.
7. Add a Calm Water or Fire Focal Point Safely
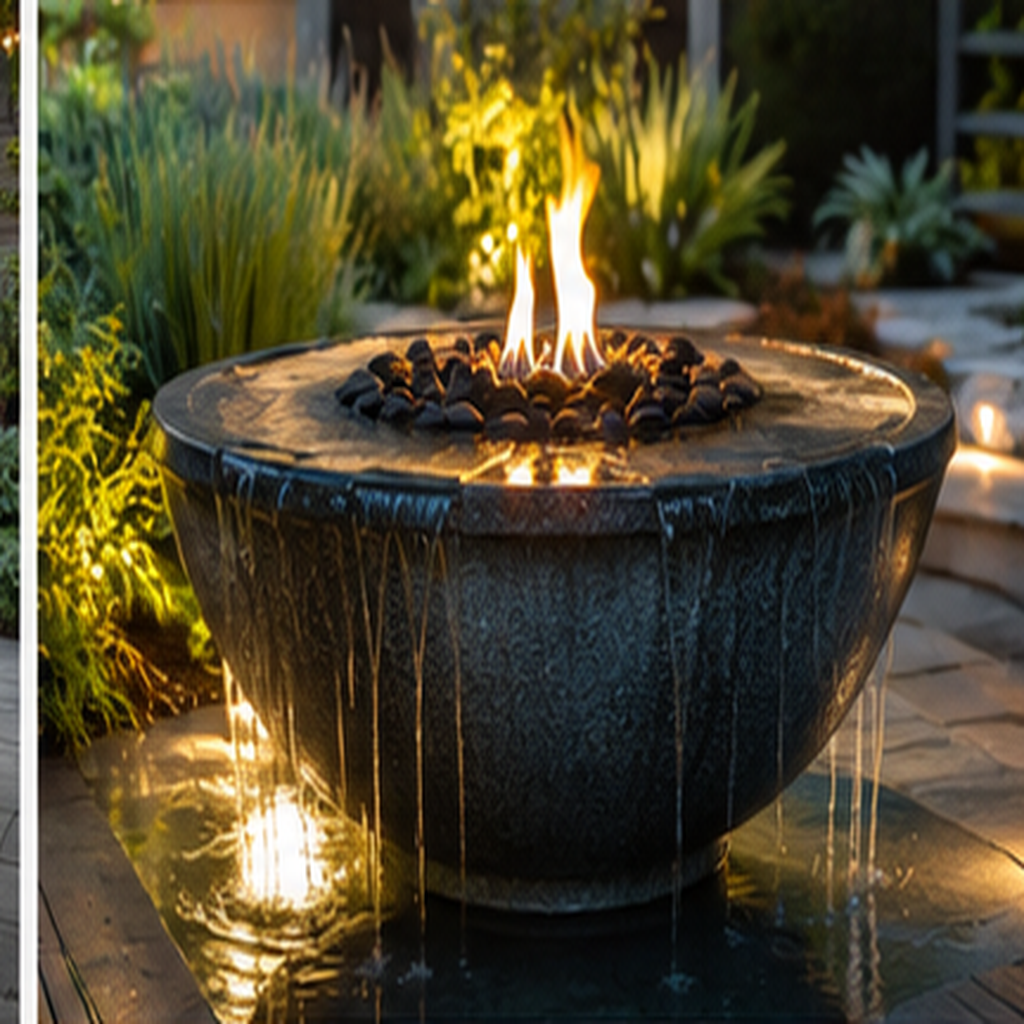
The Design Outcome
A small recirculating fountain adds sound; a fire feature adds warmth and gathering. Either can become the emotional center of the yard when used safely.
How to Execute It
For water, prevent stagnant pools and manage electrical safety. For fire, follow local rules, manufacturer clearances, fuel instructions, supervision, and extinguishing requirements.
Materials and Placement
Choose materials for the actual surface, traffic, light, moisture, heat, and cleaning demands. Measure twice, create a temporary mock-up, and confirm how doors, drawers, vents, outlets, seating, and walking paths interact with the idea. Use removable options for rentals and obtain written permission before permanent changes.
Pro Tip and Safety Check
Photograph the room from the doorway before and after the mock-up; the camera makes scale and clutter easier to judge. Secure heavy or elevated objects with hardware rated for the wall or structure. Follow product instructions and local requirements for electricity, flame, exterior structures, coatings, and load-bearing work; use a qualified professional when the project exceeds cosmetic decorating.
Why It Works
The idea succeeds because it changes a large visual relationship—scale, rhythm, depth, light, or circulation—rather than relying on many small purchases. Repeat one feature elsewhere in the room, then stop. Restraint lets the improvement read clearly.
8. Build a Garden Arch and Pathway Reveal
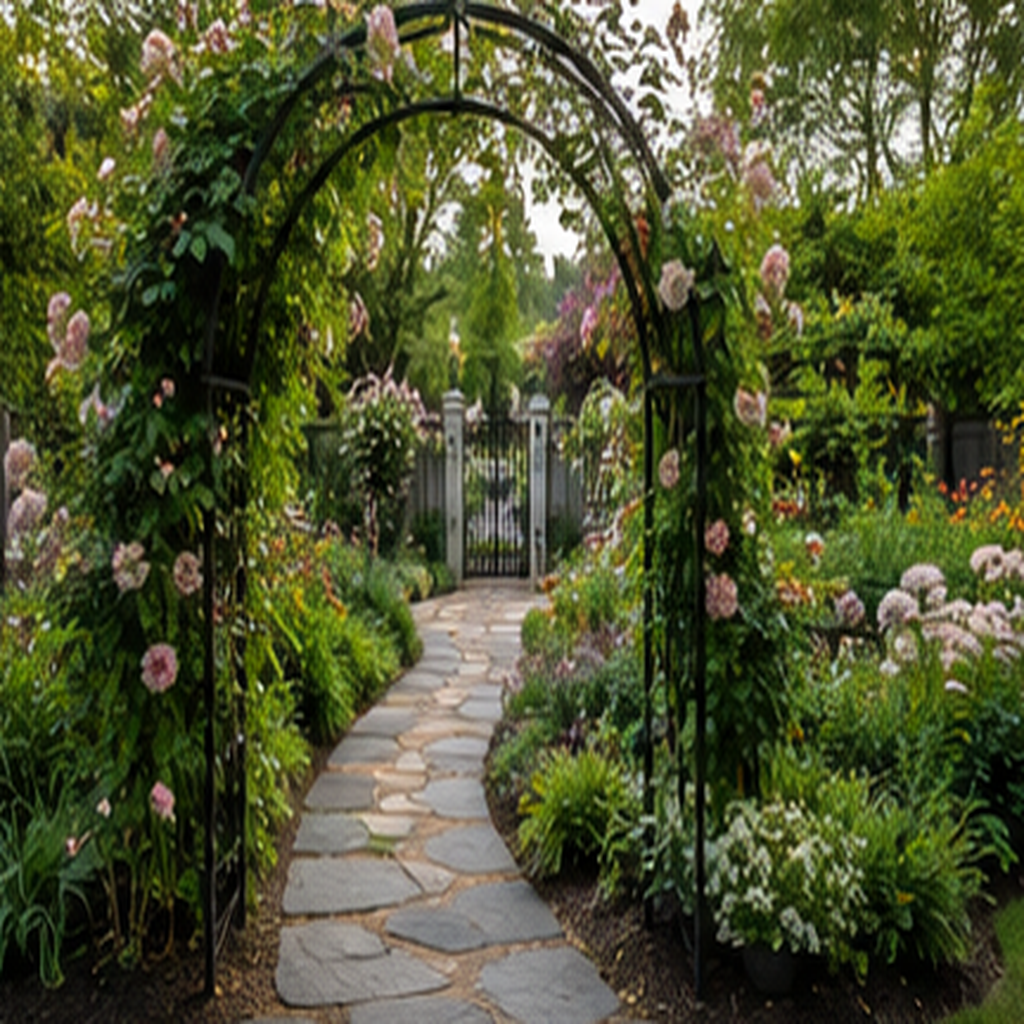
The Design Outcome
An arch placed slightly beyond the main seating area creates a reveal and invites movement into the garden. A curved or stepping path makes even a modest yard feel like a sequence of spaces.
How to Execute It
Locate utilities, use stable weather-rated materials, choose climbers appropriate to the structure, and create a firm, well-drained walking surface. Add subtle path lighting without glare.
Materials and Placement
Choose materials for the actual surface, traffic, light, moisture, heat, and cleaning demands. Measure twice, create a temporary mock-up, and confirm how doors, drawers, vents, outlets, seating, and walking paths interact with the idea. Use removable options for rentals and obtain written permission before permanent changes.
Pro Tip and Safety Check
Photograph the room from the doorway before and after the mock-up; the camera makes scale and clutter easier to judge. Secure heavy or elevated objects with hardware rated for the wall or structure. Follow product instructions and local requirements for electricity, flame, exterior structures, coatings, and load-bearing work; use a qualified professional when the project exceeds cosmetic decorating.
Why It Works
The idea succeeds because it changes a large visual relationship—scale, rhythm, depth, light, or circulation—rather than relying on many small purchases. Repeat one feature elsewhere in the room, then stop. Restraint lets the improvement read clearly.
9. Create a Dedicated Outdoor Lounge Corner
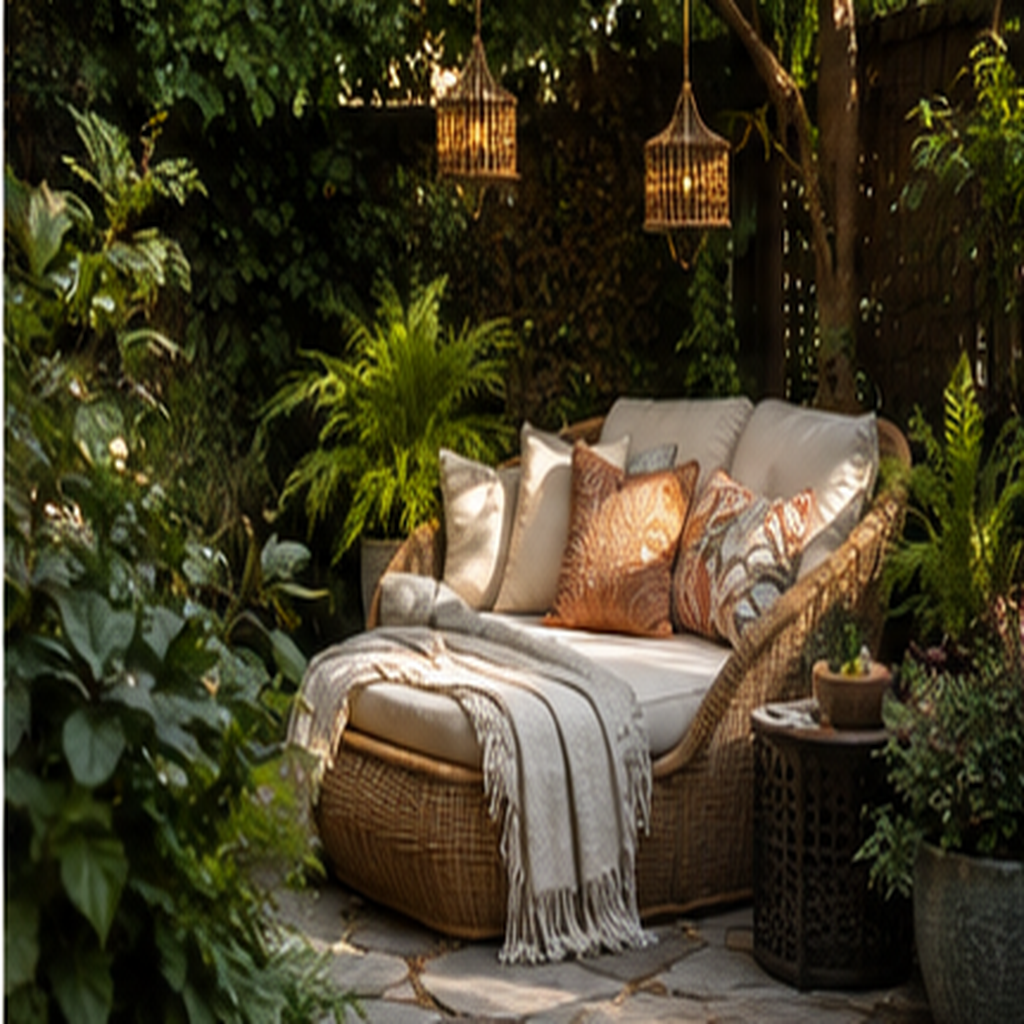
The Design Outcome
A defined lounge corner with deep seating, a small table, and shade gives the yard a destination separate from dining. The enclosure can be visual rather than structural.
How to Execute It
Orient seating toward the best garden view, preserve drainage and circulation, use weather-rated furniture, and provide secure storage or covers for harsh conditions.
Materials and Placement
Choose materials for the actual surface, traffic, light, moisture, heat, and cleaning demands. Measure twice, create a temporary mock-up, and confirm how doors, drawers, vents, outlets, seating, and walking paths interact with the idea. Use removable options for rentals and obtain written permission before permanent changes.
Pro Tip and Safety Check
Photograph the room from the doorway before and after the mock-up; the camera makes scale and clutter easier to judge. Secure heavy or elevated objects with hardware rated for the wall or structure. Follow product instructions and local requirements for electricity, flame, exterior structures, coatings, and load-bearing work; use a qualified professional when the project exceeds cosmetic decorating.
Why It Works
The idea succeeds because it changes a large visual relationship—scale, rhythm, depth, light, or circulation—rather than relying on many small purchases. Repeat one feature elsewhere in the room, then stop. Restraint lets the improvement read clearly.
10. Add a Small Wildlife-Friendly Garden Border
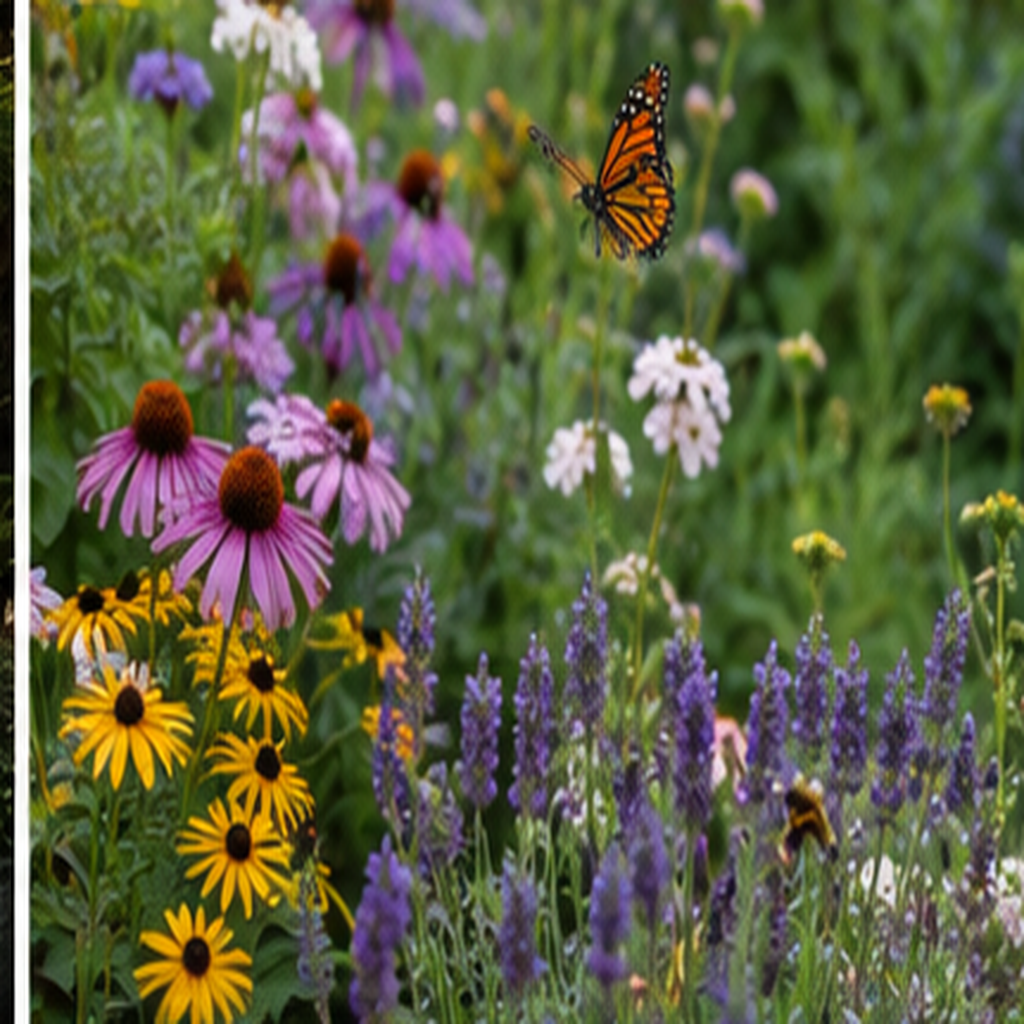
The Design Outcome
A narrow border planted for local pollinators and birds introduces movement and seasonal change without taking over the yard. Layered heights make the edge feel deeper.
How to Execute It
Choose non-invasive plants suited to local climate, sun, soil, and household safety. Avoid pesticides where possible, provide clean water responsibly, and follow local guidance for wildlife-friendly planting.
Materials and Placement
Choose materials for the actual surface, traffic, light, moisture, heat, and cleaning demands. Measure twice, create a temporary mock-up, and confirm how doors, drawers, vents, outlets, seating, and walking paths interact with the idea. Use removable options for rentals and obtain written permission before permanent changes.
Pro Tip and Safety Check
Photograph the room from the doorway before and after the mock-up; the camera makes scale and clutter easier to judge. Secure heavy or elevated objects with hardware rated for the wall or structure. Follow product instructions and local requirements for electricity, flame, exterior structures, coatings, and load-bearing work; use a qualified professional when the project exceeds cosmetic decorating.
Why It Works
The idea succeeds because it changes a large visual relationship—scale, rhythm, depth, light, or circulation—rather than relying on many small purchases. Repeat one feature elsewhere in the room, then stop. Restraint lets the improvement read clearly.
Choose the Right Project First
A Weekend Planning Sequence
Begin with a measured sketch and photographs from the main entry. Remove items that do not need to stay, then mark the proposed furniture, art, lighting, or outdoor zone with tape or temporary objects. Live with the mock-up through daytime and evening before buying materials. This pause catches glare, blocked doors, weak sightlines, and pieces that only looked right from one angle.
Make a complete cost list rather than comparing one headline price. Include tools, mounting hardware, primer, delivery, waste, protective equipment, storage, repairs, and professional help. Decide which visible quality matters most—scale, texture, color accuracy, durability, or craftsmanship—and spend there. Save on elements that can remain simple.
Styling Without Visual Clutter
Use repetition to make affordable or handmade pieces look intentional. Repeat a tone in three locations, carry one wood or metal finish across the space, and vary shape rather than adding more colors. Group small objects into one composition, preserve useful empty surfaces, and keep the clearest view in the room largely open.
Edit at normal eye level and from the doorway. Remove packaging, excess cords, undersized filler, and anything that blocks the strongest feature. A finished room should still have space for a book, a drink, a guest, daily cleanup, and the activities that made the room necessary in the first place.
Conclusion
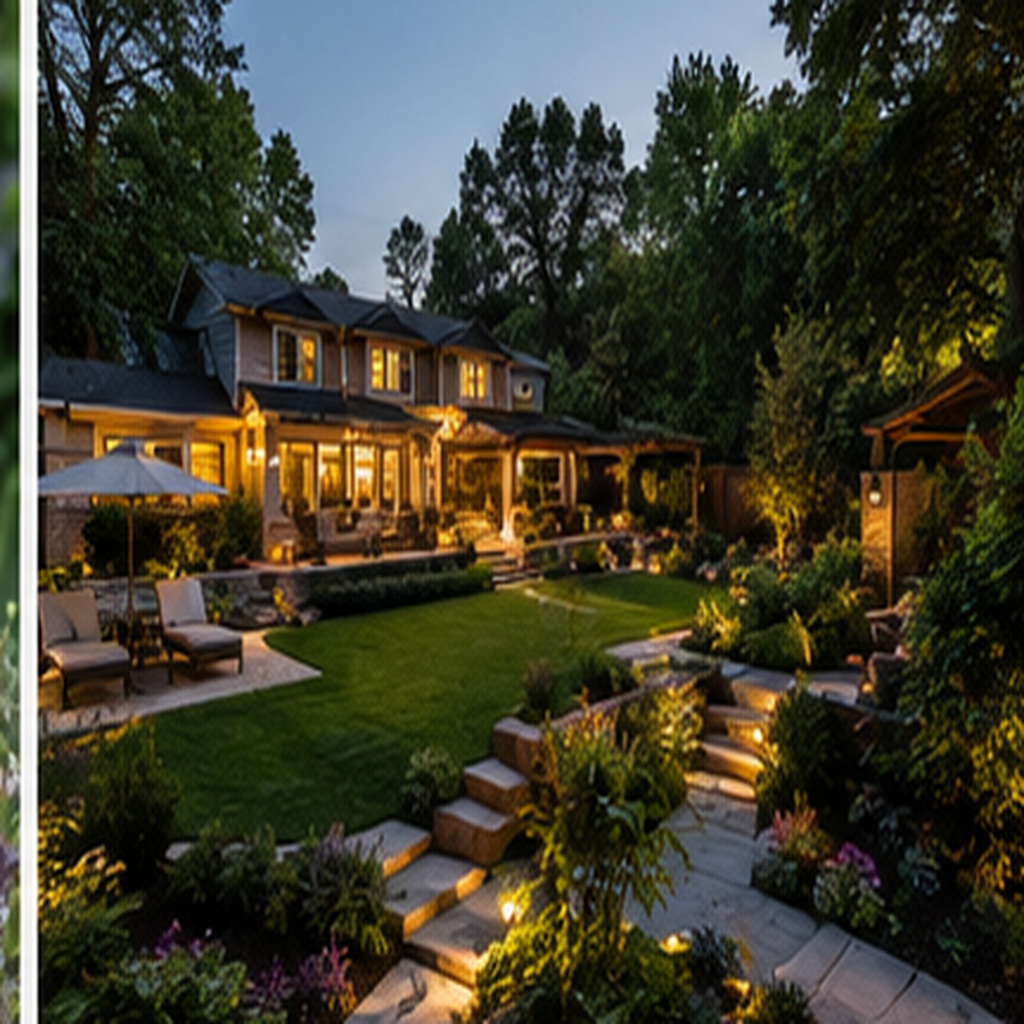
The fastest route to a more impressive home is not completing every idea at once. Choose the suggestion that addresses the largest visual or functional problem, test it at full scale, and complete it carefully. Once layout, light, and proportion feel right, smaller details become easier to select—and fewer of them are required.
Frequently Asked Questions
Which decorating change has the biggest impact?
Layout, lighting, scale, and window treatment usually affect more of the room than small accessories. Start with the problem visible from the entry.
How can I avoid buying the wrong size?
Measure the exact location, tape the footprint or outline, photograph it, and test door, drawer, seating, and walking clearance before ordering.
Can renters use these ideas?
Yes. Favor freestanding panels, textile art, picture ledges installed with permission, removable treatments, portable lighting, and hardware that can be restored.
How do I make budget decor look cohesive?
Limit the palette, repeat one finish, choose fewer larger elements, and edit crowded surfaces. Cohesion matters more than the original price.
When should I hire a professional?
Use qualified help for electrical work, structural mounting, exterior construction, gas or fire features, suspected hazardous coatings, and anything beyond your tools or experience.
Related Topics
- [More Home Ideas](/category/home-living/)
- [Affordable decorating projects](/category/home-living/)
- [Room-by-room organization](/category/home-living/)
- [Outdoor living inspiration](/category/home-living/)
The Final Full-Room Check
Stand at the main entry, then move through the space in the order a guest or household member normally would. Check the first view, walking width, seating access, glare, cords, door swings, storage reach, and the way the room changes after sunset. Sit in every primary seat and look back toward the entry. A project that works from only one camera angle needs another edit.
Photograph the finished space in daylight and evening light, then compare it with the original problem statement. If the goal was calm, confirm that surfaces and pathways are easier to use. If the goal was luxury, look for consistent scale, finish, and repetition rather than extra objects. If the goal was outdoor comfort, test shade, drainage, wind, lighting, and storage through ordinary weather. Keep a short repair list and remove any detail that introduces a trip, tip, heat, moisture, or maintenance problem.
Final Seven-Day Review
After one week, check whether the change improves movement, comfort, cleaning, light, storage, and the main view. Tighten safe hardware as instructed, correct trip hazards, and remove additions that create work without adding function or meaning. A room that photographs well but frustrates daily life is not finished.