9 Stunning DIY Wall Art Projects That Will Transform Your Space (Wait Until You See #7!)
A beautiful home is not created by adding the most objects. It comes from making a few high-impact choices about layout, scale, light, texture, and the way a space supports everyday life. These 9 DIY wall art projects are designed to deliver visible change without turning one article into an exhausting catalog.
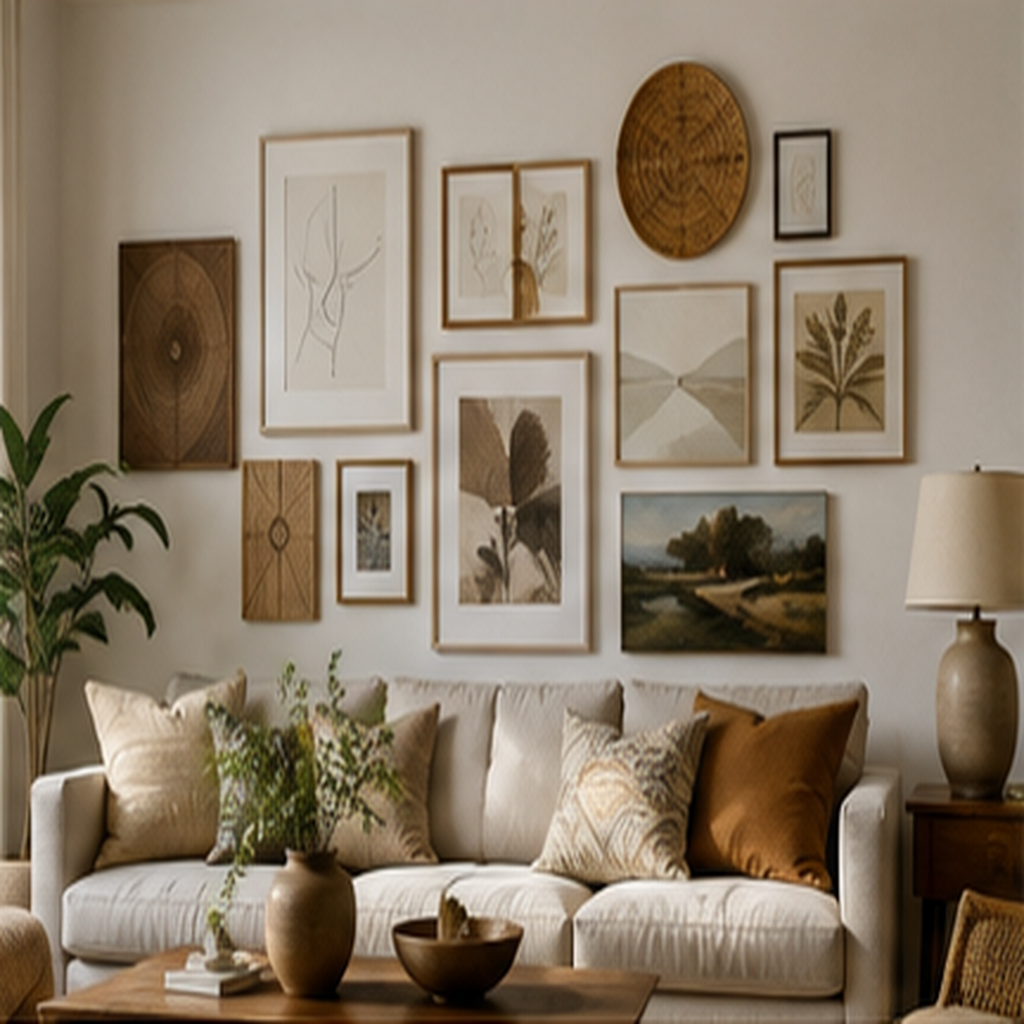
Key Takeaways
- Measure the real space before buying or building.
- Improve layout, lighting, and scale before adding accessories.
- Repeat a limited palette or material to create cohesion.
- Protect circulation, ventilation, mounting safety, and weather exposure.
- Finish one strong focal point and leave breathing space around it.
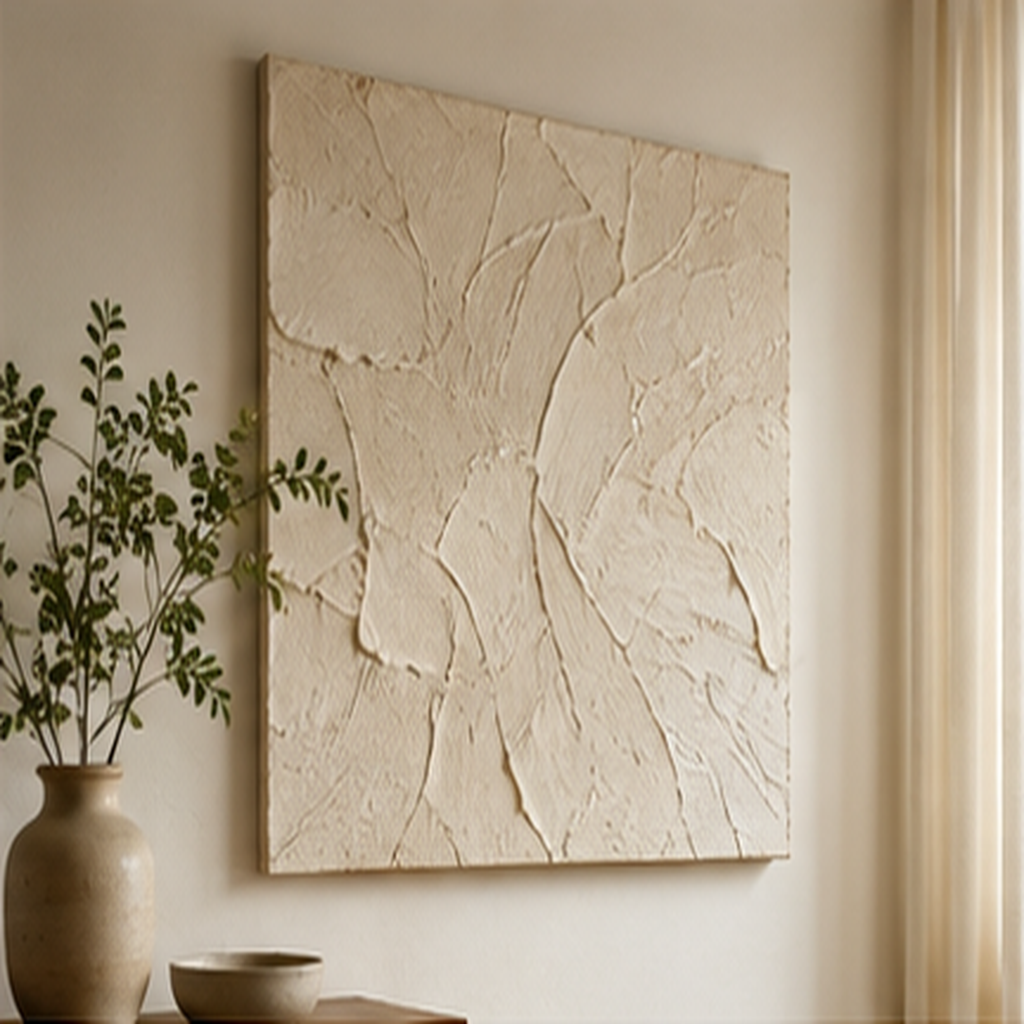
1. Make a Textured Plaster-Style Canvas
The Design Outcome
A large canvas with restrained raised texture creates the shadow and scale of gallery art without requiring detailed drawing.
How to Execute It
Apply lightweight artist texture medium to a primed canvas with a broad tool, keep relief shallow, allow full curing, and finish in one or two matte tones. Do not substitute heavy construction plaster on flexible canvas.
Materials and Placement
Choose materials for the actual surface, traffic, light, moisture, heat, and cleaning demands. Measure twice, create a temporary mock-up, and confirm how doors, drawers, vents, outlets, seating, and walking paths interact with the idea. Use removable options for rentals and obtain written permission before permanent changes.
Pro Tip and Safety Check
Photograph the room from the doorway before and after the mock-up; the camera makes scale and clutter easier to judge. Secure heavy or elevated objects with hardware rated for the wall or structure. Follow product instructions and local requirements for electricity, flame, exterior structures, coatings, and load-bearing work; use a qualified professional when the project exceeds cosmetic decorating.
Why It Works
The idea succeeds because it changes a large visual relationship—scale, rhythm, depth, light, or circulation—rather than relying on many small purchases. Repeat one feature elsewhere in the room, then stop. Restraint lets the improvement read clearly.
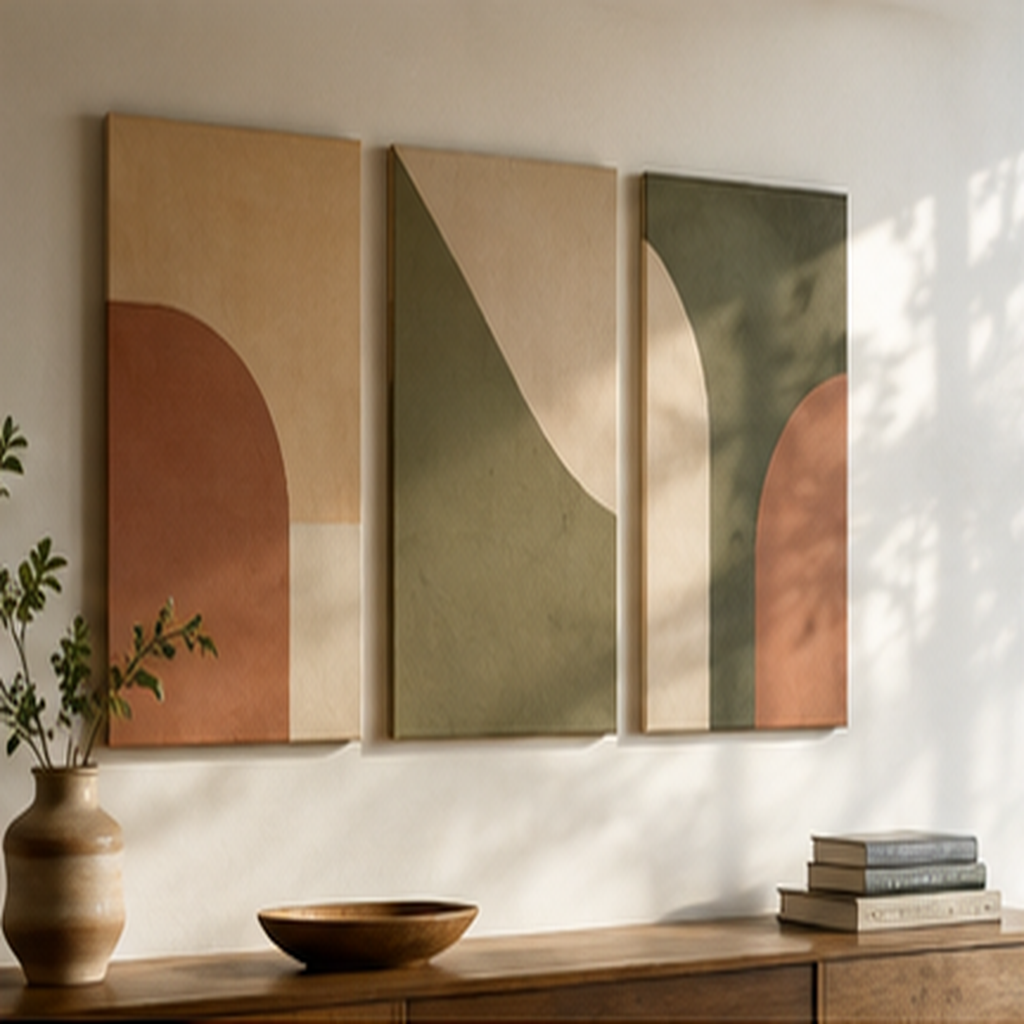
2. Paint a Modular Color-Block Triptych
The Design Outcome
Three related panels turn one simple palette into an architectural composition. The gaps between canvases become part of the design.
How to Execute It
Cut paper studies first, transfer the best arrangement to identical canvases, tape clean edges, and repeat one color across all three. Use low-odor indoor art materials and allow ventilation.
Materials and Placement
Choose materials for the actual surface, traffic, light, moisture, heat, and cleaning demands. Measure twice, create a temporary mock-up, and confirm how doors, drawers, vents, outlets, seating, and walking paths interact with the idea. Use removable options for rentals and obtain written permission before permanent changes.
Pro Tip and Safety Check
Photograph the room from the doorway before and after the mock-up; the camera makes scale and clutter easier to judge. Secure heavy or elevated objects with hardware rated for the wall or structure. Follow product instructions and local requirements for electricity, flame, exterior structures, coatings, and load-bearing work; use a qualified professional when the project exceeds cosmetic decorating.
Why It Works
The idea succeeds because it changes a large visual relationship—scale, rhythm, depth, light, or circulation—rather than relying on many small purchases. Repeat one feature elsewhere in the room, then stop. Restraint lets the improvement read clearly.
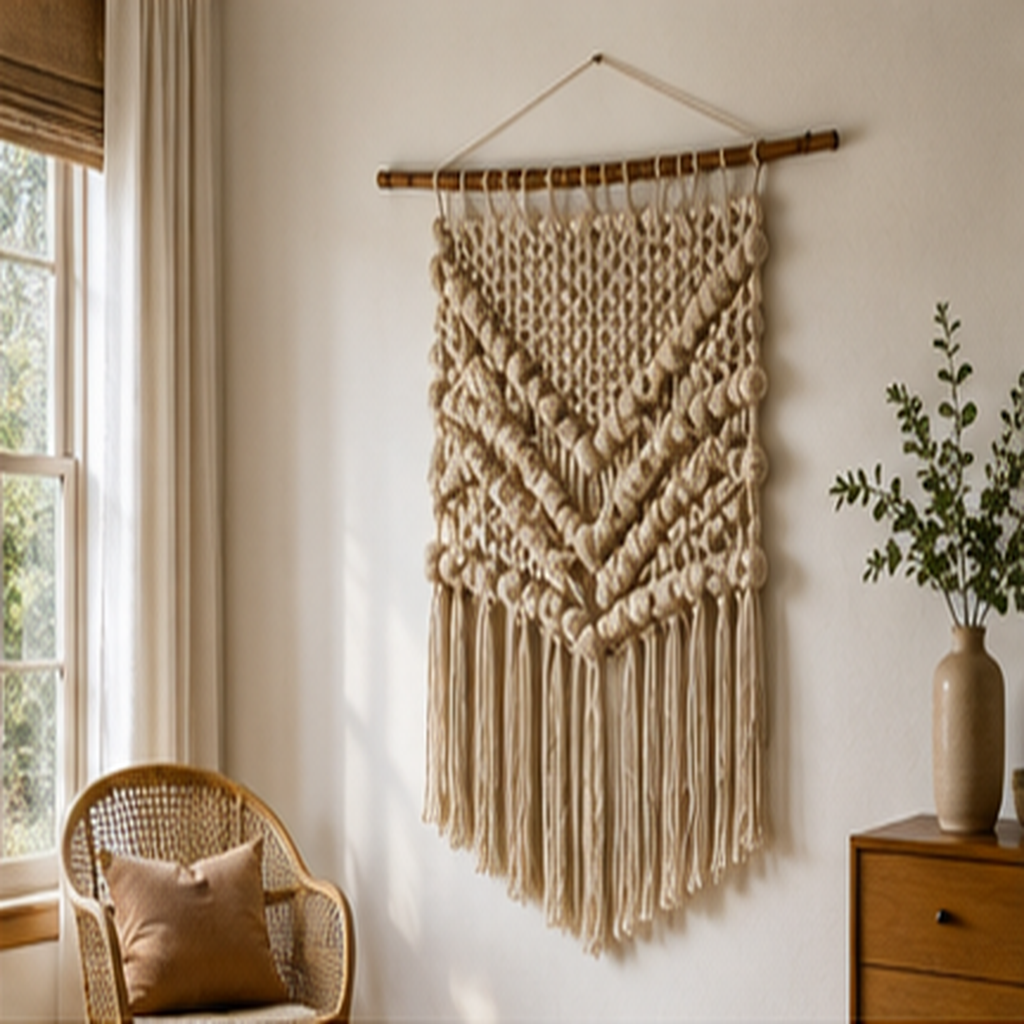
3. Weave a Soft Fiber Wall Hanging
The Design Outcome
Fiber introduces softness in a room dominated by rectangular frames. A small loom, dowel, or wrapped ring can support a graphic modern weave.
How to Execute It
Use cotton cord, wool, raffia, or fabric remnants in a limited palette. Knot securely, trim only after hanging, and keep loops and loose fibers away from young children and pets.
Materials and Placement
Choose materials for the actual surface, traffic, light, moisture, heat, and cleaning demands. Measure twice, create a temporary mock-up, and confirm how doors, drawers, vents, outlets, seating, and walking paths interact with the idea. Use removable options for rentals and obtain written permission before permanent changes.
Pro Tip and Safety Check
Photograph the room from the doorway before and after the mock-up; the camera makes scale and clutter easier to judge. Secure heavy or elevated objects with hardware rated for the wall or structure. Follow product instructions and local requirements for electricity, flame, exterior structures, coatings, and load-bearing work; use a qualified professional when the project exceeds cosmetic decorating.
Why It Works
The idea succeeds because it changes a large visual relationship—scale, rhythm, depth, light, or circulation—rather than relying on many small purchases. Repeat one feature elsewhere in the room, then stop. Restraint lets the improvement read clearly.
4. Frame Pressed Botanicals in a Grid
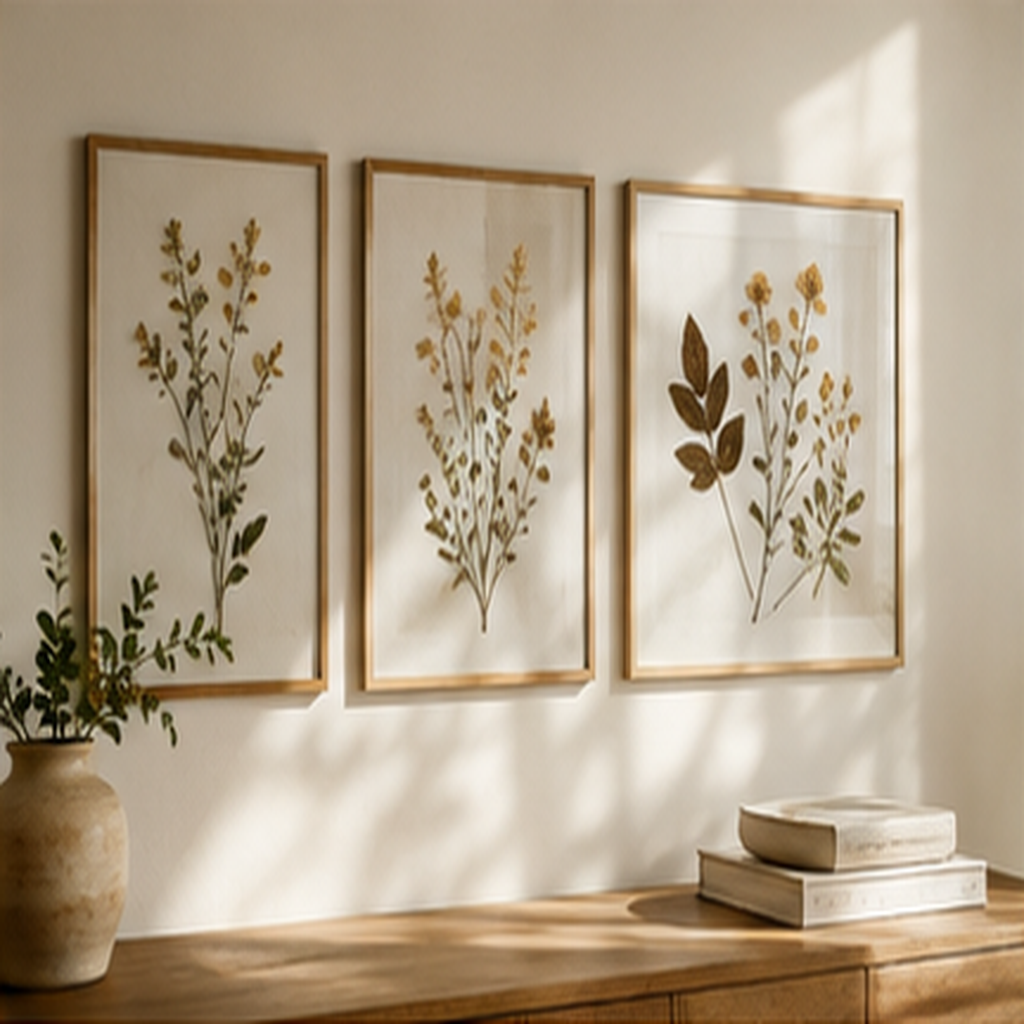
The Design Outcome
A botanical grid feels collected and calm because the repeated frames control the organic differences between leaves and flowers.
How to Execute It
Press non-protected, non-toxic specimens fully dry, mount with archival corners or tiny reversible hinges, and avoid direct sun. Use purchased dried botanicals if collecting is restricted.
Materials and Placement
Choose materials for the actual surface, traffic, light, moisture, heat, and cleaning demands. Measure twice, create a temporary mock-up, and confirm how doors, drawers, vents, outlets, seating, and walking paths interact with the idea. Use removable options for rentals and obtain written permission before permanent changes.
Pro Tip and Safety Check
Photograph the room from the doorway before and after the mock-up; the camera makes scale and clutter easier to judge. Secure heavy or elevated objects with hardware rated for the wall or structure. Follow product instructions and local requirements for electricity, flame, exterior structures, coatings, and load-bearing work; use a qualified professional when the project exceeds cosmetic decorating.
Why It Works
The idea succeeds because it changes a large visual relationship—scale, rhythm, depth, light, or circulation—rather than relying on many small purchases. Repeat one feature elsewhere in the room, then stop. Restraint lets the improvement read clearly.
5. Build a Shallow Wood-Slat Relief
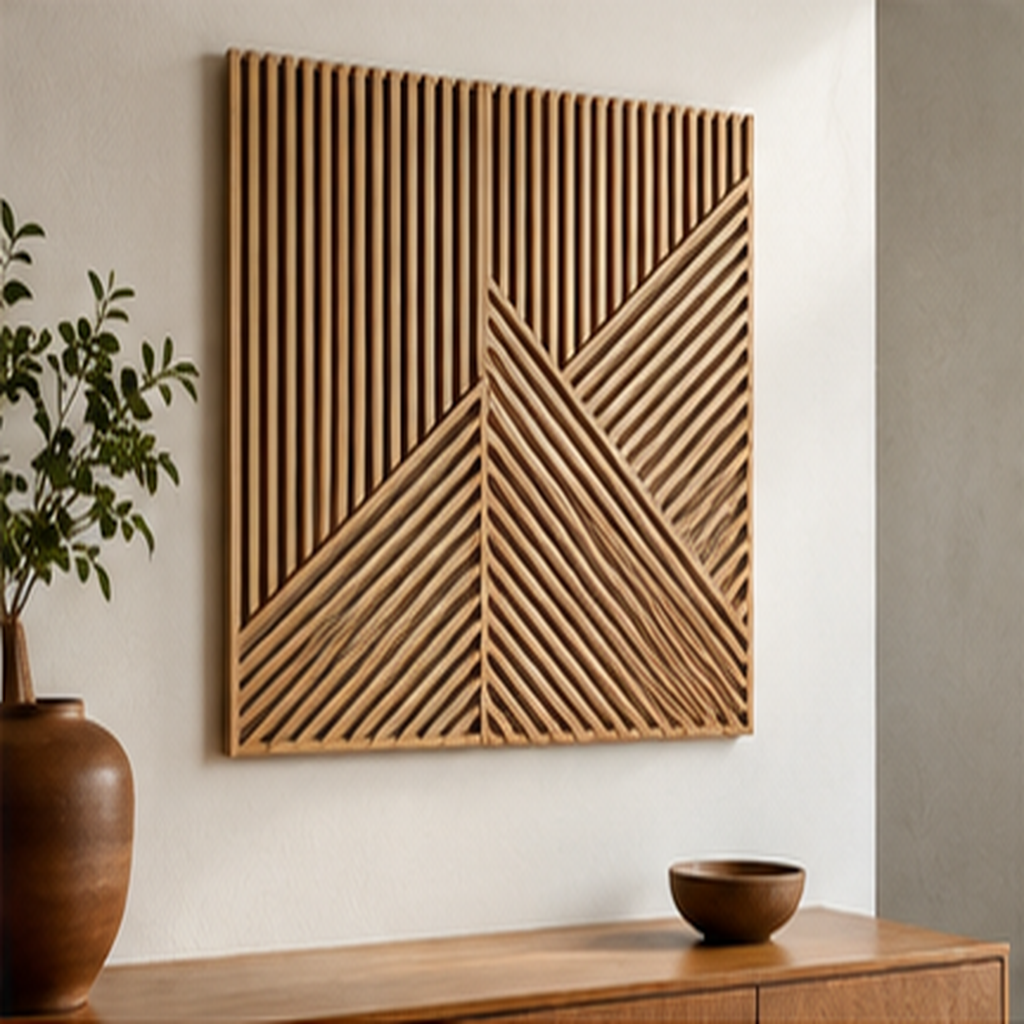
The Design Outcome
Shallow strips of wood arranged in waves, steps, or radiating lines create expensive-looking shadow without a heavy sculpture.
How to Execute It
Design on a backing board, sand edges, finish all pieces before assembly, and use appropriate adhesive plus mechanical fastening where necessary. Keep overall weight within the wall hardware rating.
Materials and Placement
Choose materials for the actual surface, traffic, light, moisture, heat, and cleaning demands. Measure twice, create a temporary mock-up, and confirm how doors, drawers, vents, outlets, seating, and walking paths interact with the idea. Use removable options for rentals and obtain written permission before permanent changes.
Pro Tip and Safety Check
Photograph the room from the doorway before and after the mock-up; the camera makes scale and clutter easier to judge. Secure heavy or elevated objects with hardware rated for the wall or structure. Follow product instructions and local requirements for electricity, flame, exterior structures, coatings, and load-bearing work; use a qualified professional when the project exceeds cosmetic decorating.
Why It Works
The idea succeeds because it changes a large visual relationship—scale, rhythm, depth, light, or circulation—rather than relying on many small purchases. Repeat one feature elsewhere in the room, then stop. Restraint lets the improvement read clearly.
6. Fold Sculptural Paper Shadow Art
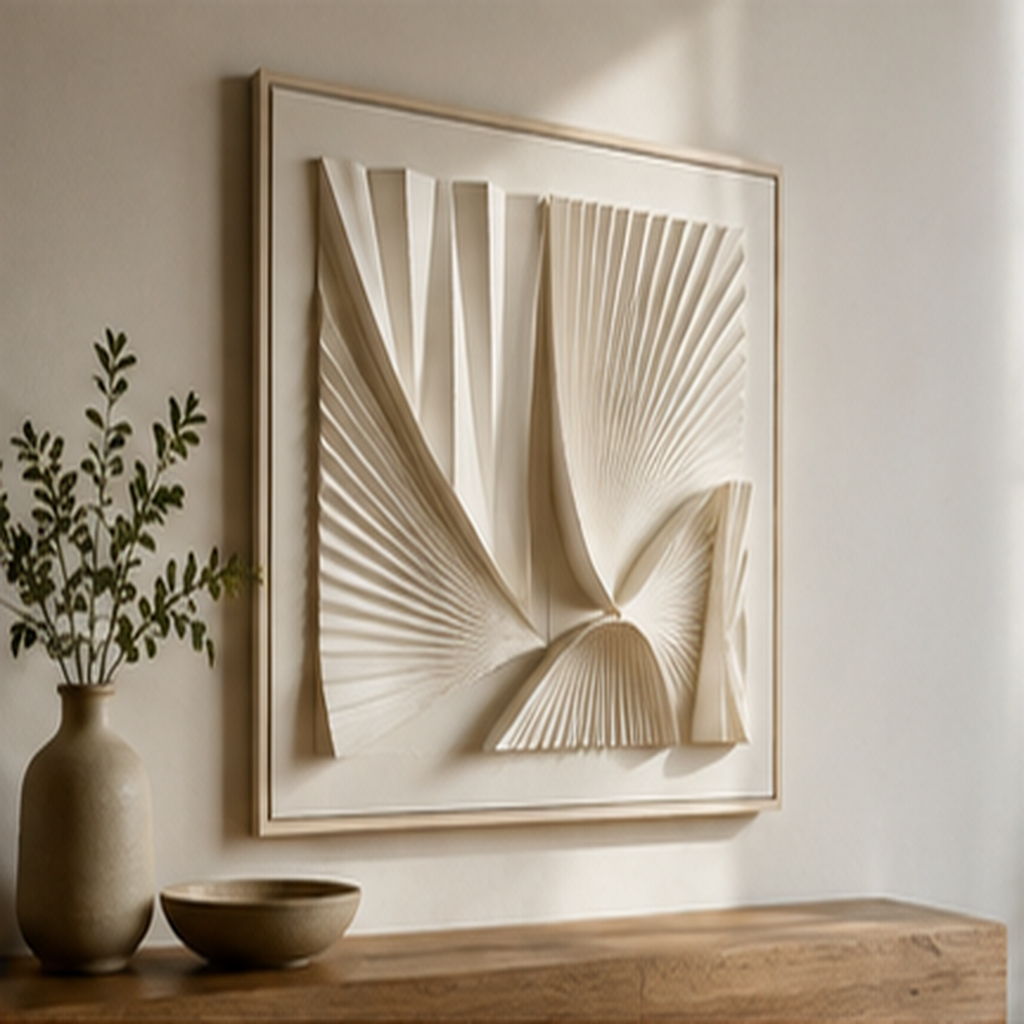
The Design Outcome
Folded paper catches side light beautifully and can be replaced seasonally. Repetition makes inexpensive material look intentional.
How to Execute It
Choose acid-free heavyweight paper, build one tested module, then repeat it accurately on a rigid backing. Frame behind glazing or mount out of reach in humid, splash-prone, or high-contact zones.
Materials and Placement
Choose materials for the actual surface, traffic, light, moisture, heat, and cleaning demands. Measure twice, create a temporary mock-up, and confirm how doors, drawers, vents, outlets, seating, and walking paths interact with the idea. Use removable options for rentals and obtain written permission before permanent changes.
Pro Tip and Safety Check
Photograph the room from the doorway before and after the mock-up; the camera makes scale and clutter easier to judge. Secure heavy or elevated objects with hardware rated for the wall or structure. Follow product instructions and local requirements for electricity, flame, exterior structures, coatings, and load-bearing work; use a qualified professional when the project exceeds cosmetic decorating.
Why It Works
The idea succeeds because it changes a large visual relationship—scale, rhythm, depth, light, or circulation—rather than relying on many small purchases. Repeat one feature elsewhere in the room, then stop. Restraint lets the improvement read clearly.
7. Turn Beautiful Fabric Into Oversized Tapestry Art
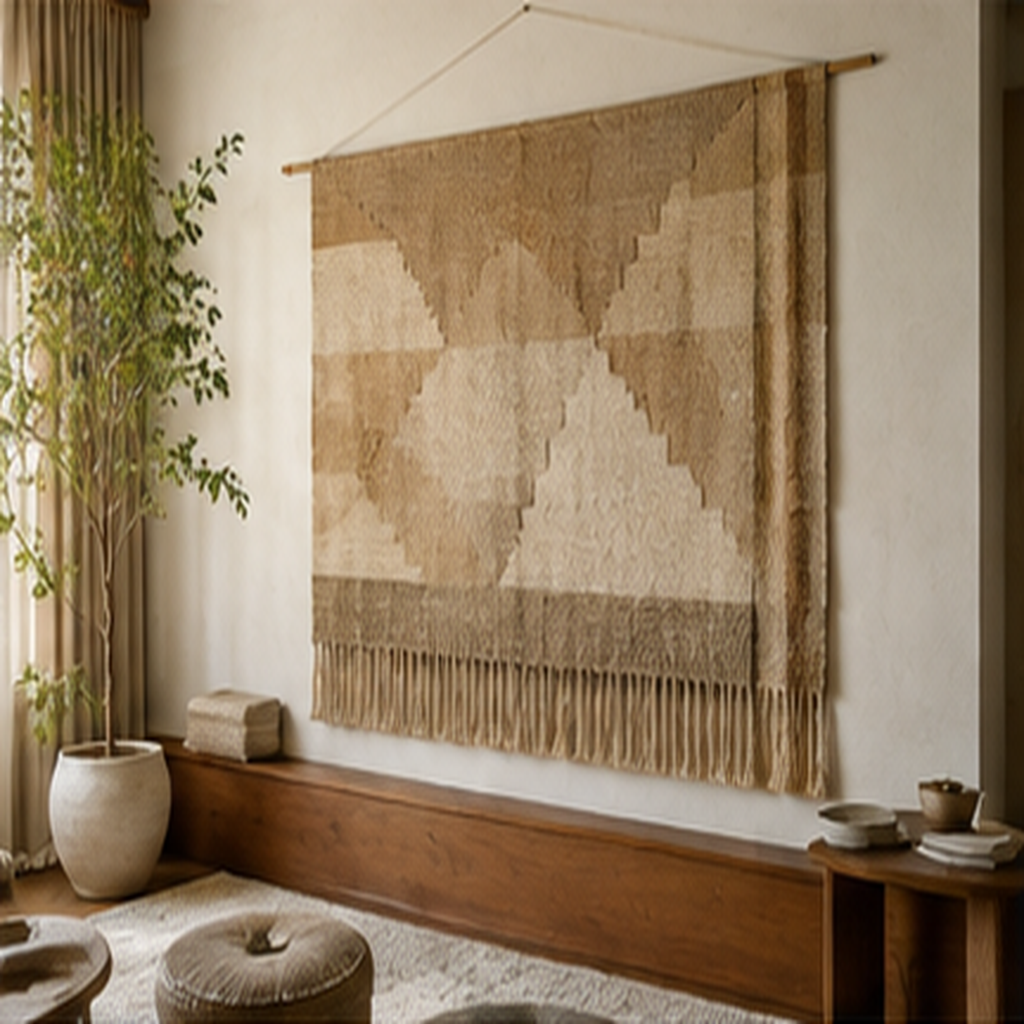
The Design Outcome
A striking remnant, scarf, quilt fragment, or printed fabric can become genuinely oversized art with almost no visual clutter. This is the dramatic project promised by the title because scale changes the entire wall at once.
How to Execute It
Hem or mount the textile to a lightweight hanging system, distribute weight evenly, and keep valuable fabric away from sun and damp exterior walls. Never staple historic or sentimental textiles directly to drywall.
Materials and Placement
Choose materials for the actual surface, traffic, light, moisture, heat, and cleaning demands. Measure twice, create a temporary mock-up, and confirm how doors, drawers, vents, outlets, seating, and walking paths interact with the idea. Use removable options for rentals and obtain written permission before permanent changes.
Pro Tip and Safety Check
Photograph the room from the doorway before and after the mock-up; the camera makes scale and clutter easier to judge. Secure heavy or elevated objects with hardware rated for the wall or structure. Follow product instructions and local requirements for electricity, flame, exterior structures, coatings, and load-bearing work; use a qualified professional when the project exceeds cosmetic decorating.
Why It Works
The idea succeeds because it changes a large visual relationship—scale, rhythm, depth, light, or circulation—rather than relying on many small purchases. Repeat one feature elsewhere in the room, then stop. Restraint lets the improvement read clearly.
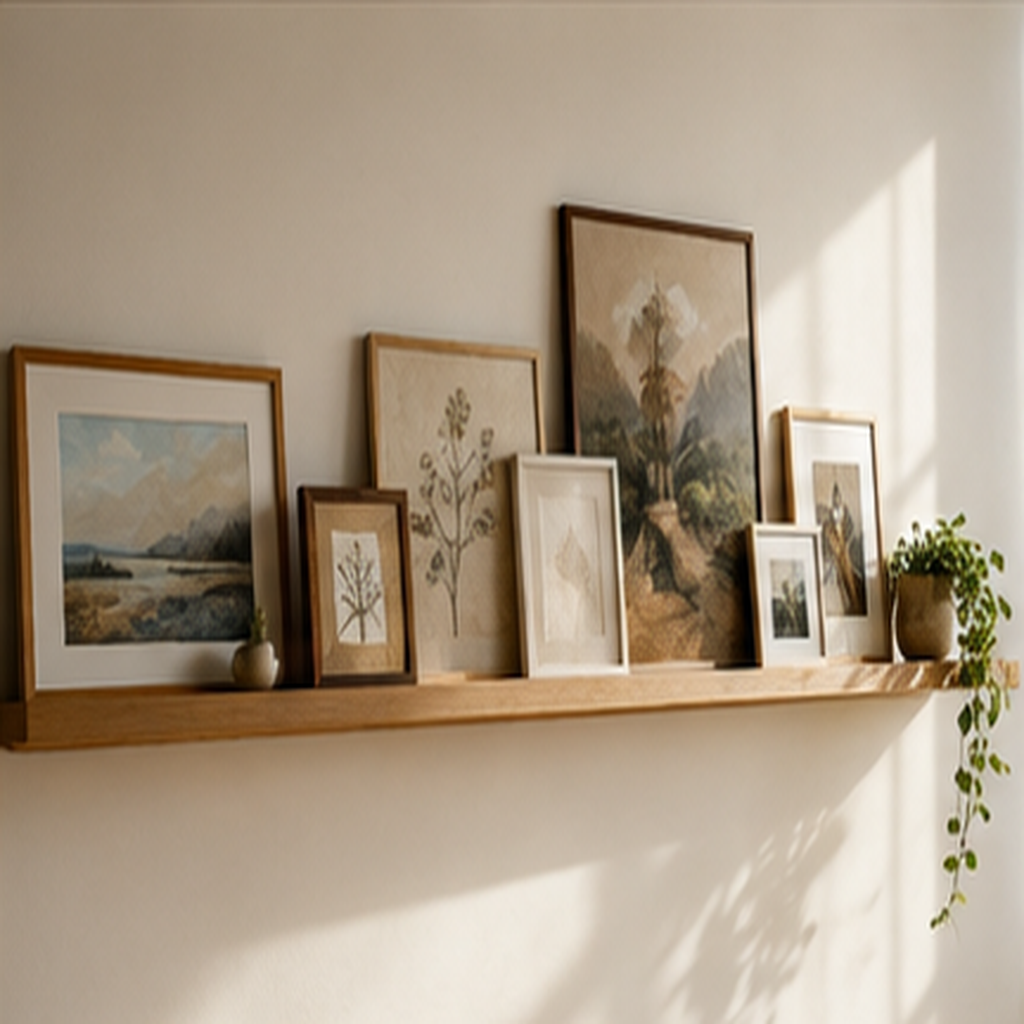
8. Install a Changeable Picture Ledge Gallery
The Design Outcome
A picture ledge turns wall art into an editable composition. Frames can overlap, small sculpture can join the display, and seasonal changes require no new holes.
How to Execute It
Anchor the ledge correctly, keep heavy pieces low, add anti-slip bumpers, and avoid placement above beds or seating unless every object is securely restrained.
Materials and Placement
Choose materials for the actual surface, traffic, light, moisture, heat, and cleaning demands. Measure twice, create a temporary mock-up, and confirm how doors, drawers, vents, outlets, seating, and walking paths interact with the idea. Use removable options for rentals and obtain written permission before permanent changes.
Pro Tip and Safety Check
Photograph the room from the doorway before and after the mock-up; the camera makes scale and clutter easier to judge. Secure heavy or elevated objects with hardware rated for the wall or structure. Follow product instructions and local requirements for electricity, flame, exterior structures, coatings, and load-bearing work; use a qualified professional when the project exceeds cosmetic decorating.
Why It Works
The idea succeeds because it changes a large visual relationship—scale, rhythm, depth, light, or circulation—rather than relying on many small purchases. Repeat one feature elsewhere in the room, then stop. Restraint lets the improvement read clearly.
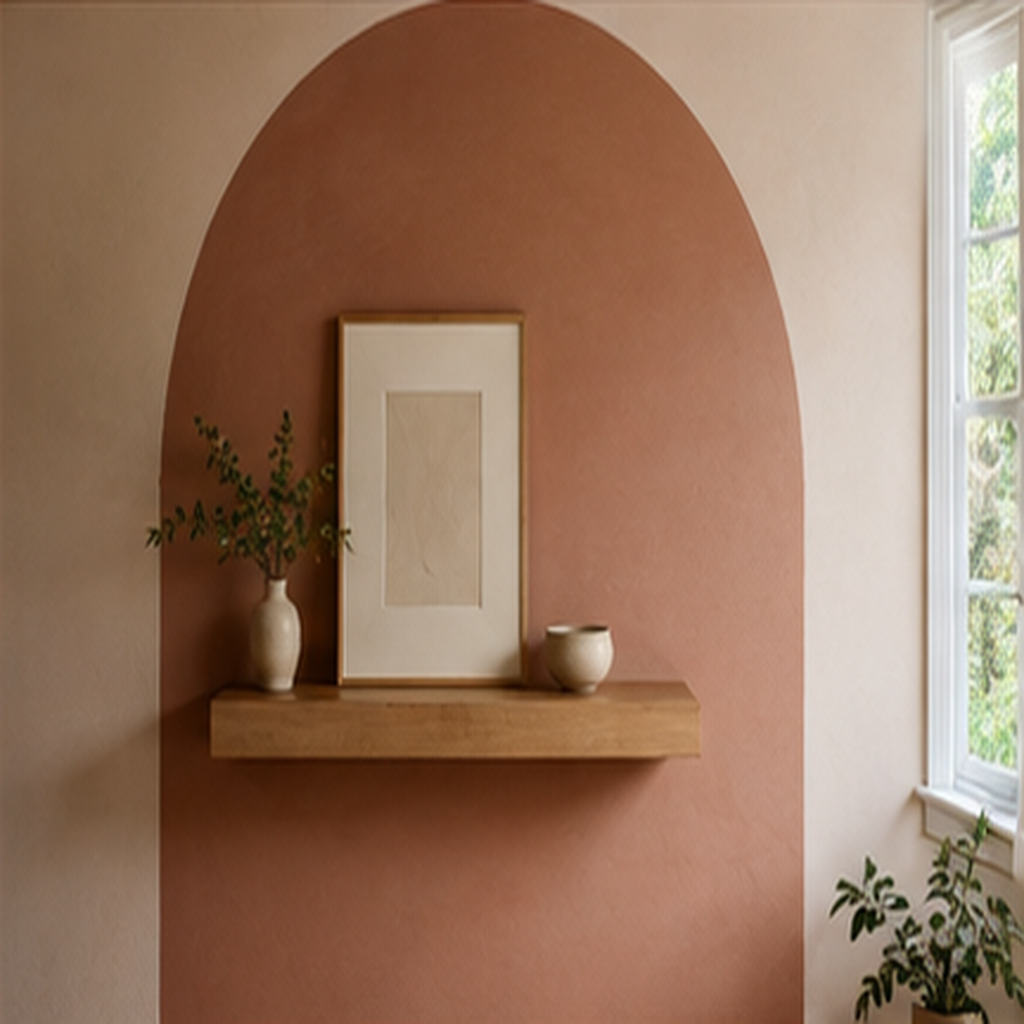
9. Create a Painted Arch-and-Shelf Composition
The Design Outcome
A painted arch behind one slim shelf combines color, shape, and a functional display into a single wall composition. It reads like custom architecture while using very little material.
How to Execute It
Mock up the arch with string and pencil, use the shelf dimensions to set its width, paint cleanly, and mount the shelf with hardware rated for the wall and displayed load.
Materials and Placement
Choose materials for the actual surface, traffic, light, moisture, heat, and cleaning demands. Measure twice, create a temporary mock-up, and confirm how doors, drawers, vents, outlets, seating, and walking paths interact with the idea. Use removable options for rentals and obtain written permission before permanent changes.
Pro Tip and Safety Check
Photograph the room from the doorway before and after the mock-up; the camera makes scale and clutter easier to judge. Secure heavy or elevated objects with hardware rated for the wall or structure. Follow product instructions and local requirements for electricity, flame, exterior structures, coatings, and load-bearing work; use a qualified professional when the project exceeds cosmetic decorating.
Why It Works
The idea succeeds because it changes a large visual relationship—scale, rhythm, depth, light, or circulation—rather than relying on many small purchases. Repeat one feature elsewhere in the room, then stop. Restraint lets the improvement read clearly.
Choose the Right Project First
A Weekend Planning Sequence
Begin with a measured sketch and photographs from the main entry. Remove items that do not need to stay, then mark the proposed furniture, art, lighting, or outdoor zone with tape or temporary objects. Live with the mock-up through daytime and evening before buying materials. This pause catches glare, blocked doors, weak sightlines, and pieces that only looked right from one angle.
Make a complete cost list rather than comparing one headline price. Include tools, mounting hardware, primer, delivery, waste, protective equipment, storage, repairs, and professional help. Decide which visible quality matters most—scale, texture, color accuracy, durability, or craftsmanship—and spend there. Save on elements that can remain simple.
Styling Without Visual Clutter
Use repetition to make affordable or handmade pieces look intentional. Repeat a tone in three locations, carry one wood or metal finish across the space, and vary shape rather than adding more colors. Group small objects into one composition, preserve useful empty surfaces, and keep the clearest view in the room largely open.
Edit at normal eye level and from the doorway. Remove packaging, excess cords, undersized filler, and anything that blocks the strongest feature. A finished room should still have space for a book, a drink, a guest, daily cleanup, and the activities that made the room necessary in the first place.
Conclusion
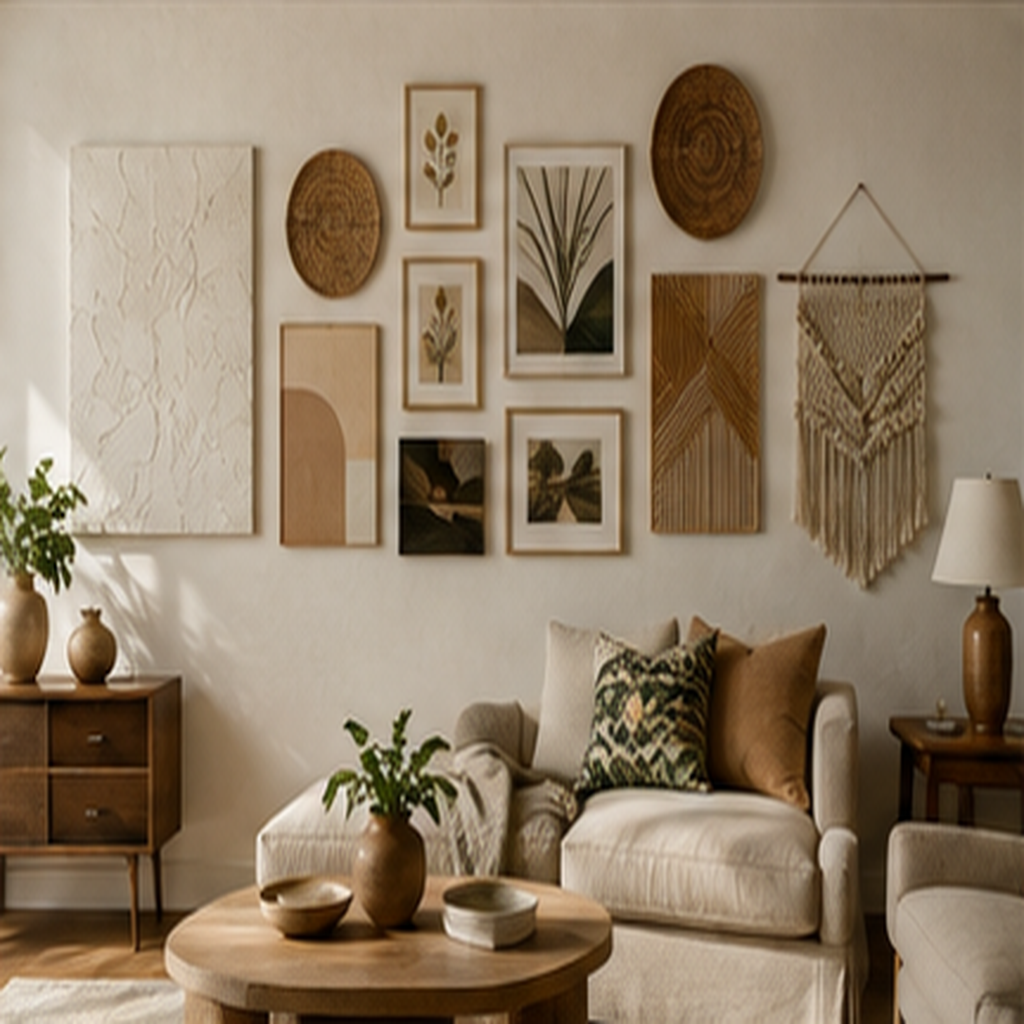
The fastest route to a more impressive home is not completing every idea at once. Choose the suggestion that addresses the largest visual or functional problem, test it at full scale, and complete it carefully. Once layout, light, and proportion feel right, smaller details become easier to select—and fewer of them are required.
Frequently Asked Questions
Which decorating change has the biggest impact?
Layout, lighting, scale, and window treatment usually affect more of the room than small accessories. Start with the problem visible from the entry.
How can I avoid buying the wrong size?
Measure the exact location, tape the footprint or outline, photograph it, and test door, drawer, seating, and walking clearance before ordering.
Can renters use these ideas?
Yes. Favor freestanding panels, textile art, picture ledges installed with permission, removable treatments, portable lighting, and hardware that can be restored.
How do I make budget decor look cohesive?
Limit the palette, repeat one finish, choose fewer larger elements, and edit crowded surfaces. Cohesion matters more than the original price.
When should I hire a professional?
Use qualified help for electrical work, structural mounting, exterior construction, gas or fire features, suspected hazardous coatings, and anything beyond your tools or experience.
Related Topics
- [More Home Ideas](/category/home-living/)
- [Affordable decorating projects](/category/home-living/)
- [Room-by-room organization](/category/home-living/)
- [Outdoor living inspiration](/category/home-living/)
The Final Full-Room Check
Stand at the main entry, then move through the space in the order a guest or household member normally would. Check the first view, walking width, seating access, glare, cords, door swings, storage reach, and the way the room changes after sunset. Sit in every primary seat and look back toward the entry. A project that works from only one camera angle needs another edit.
Photograph the finished space in daylight and evening light, then compare it with the original problem statement. If the goal was calm, confirm that surfaces and pathways are easier to use. If the goal was luxury, look for consistent scale, finish, and repetition rather than extra objects. If the goal was outdoor comfort, test shade, drainage, wind, lighting, and storage through ordinary weather. Keep a short repair list and remove any detail that introduces a trip, tip, heat, moisture, or maintenance problem.
Final Seven-Day Review
After one week, check whether the change improves movement, comfort, cleaning, light, storage, and the main view. Tighten safe hardware as instructed, correct trip hazards, and remove additions that create work without adding function or meaning. A room that photographs well but frustrates daily life is not finished.